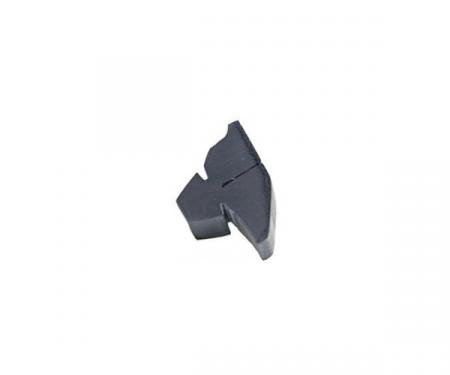
Precision Glass Setting Block 5103 001 is a durable positioning block used to accurately locate and support automotive glass during windshield and side window installation. Designed for OEM-style applications and universal fitment across many vehicles, this block ensures correct glass ride height, even weight distribution, and consistent urethane gap to prevent seal stress and leaks. Made for repeatable, reliable performance, it simplifies alignment, reduces installation time, and improves long-term sealing and vibration resistance during restoration or replacement work.
Features:
- Universal fit for most automotive windshields and side windows; suitable for OEM-style glass installations.
- Precision-molded material provides consistent thickness for accurate glass ride-height and alignment.
- Supports glass to prevent direct contact with the pinch-weld and reduces stress on urethane adhesive.
- Durable, non-compressing composition for reliable positioning during adhesive cure.
- Easy to use — simply position between glass and body flange; helps speed installations and restorations.
Installation / Application:
- Difficulty: 2/5
- Estimated time: 15–45 minutes (per glass, excluding adhesive cure time)
Instructions:
- Prepare the work area: wear safety gear, remove trim as needed, and clean the pinch-weld and glass contact surfaces with isopropyl alcohol.
- Measure and mark preferred block locations on the pinch-weld or glass edge according to the vehicle's service recommendations (commonly 3–5 blocks per side depending on glass size).
- Apply a continuous bead of urethane adhesive to the pinch-weld following the adhesive manufacturer's instructions.
- Place the glass onto the adhesive and carefully lower it into position using suction cups. Slide the setting blocks between the glass edge and the pinch-weld at the marked locations to set ride height and lateral alignment.
- Check gap and alignment with a measuring tape or feeler gauge. Adjust block positions as needed to achieve uniform spacing and correct glass position.
- Temporarily tape the glass in place to prevent movement while the adhesive skins over. Verify final alignment before leaving to cure.
- Allow urethane adhesive to cure per manufacturer instructions (do not remove blocking or drive vehicle until minimum cure time is reached).
- After cure, remove masking tape and re-install any removed trim. Inspect the seal for uniform contact and clean any excess adhesive.
About Precision Replacement Parts
Since 1986 Precision Replacement Parts has been a trusted name in the Automotive Glass Industry.
Our knowledge and experience in manufacturing millions of extruded and molded EPDM Rubber, PVC and HDPE based plastics, and various stamped and extruded metal products for the classic and late model industries has allowed Precision to expand our services into multiple product markets.
Along with our own USA based production facility, Precision also partners with 25 different manufactures worldwide with a reputation as a global leader supplying OEM and replacement products to a number of different industries. Our partnerships along with our own in-house manufacturing and fabrication capability gives Precision a unique position in helping to meet the expanding needs of customers everywhere, providing them with a sustained competitive advantage.

Vehicle Fitment:
The Vehicle Fitment Guide is to be used as a general reference. The data has been provided by our suppliers and manufacturers and may contain errors or incorrect data. Always refer to a professional to verify correct fitment for your vehicle.
| Make |
Model |
Years |
| Ford |
Escort |
1981 - 1990 |
| Ford |
Explorer |
1991 - 1994 |
| Ford |
Mustang |
1987 - 1993 |
| Mercury |
Lynx |
1981 - 1987 |